 Leif160519的blog
——————
目录
YAPI开启LDAP登陆
YAPI开启LDAP登陆
写在前面
- CentOS 下搭建 openLDAP 的教程参考:Centos7 搭建openldap完整详细教程(真实可用)。
- 自动化安装脚本可以参考我写的:github。
- 有兴趣的可以先看一下我写的:Gitlab开启LDAP登陆
操作步骤
1.修改配置文件
/root/nodejs/lib/node_modules/yapi-cli/src/commands/my-yapi/config.json(路径依据各自的实际情况查找)
{
   "port": "3000",
   "adminAccount": "admin@admin.com",
   "db": {
      "servername": "127.0.0.1",
      "DATABASE": "yapi",
      "port": "27017"
   },
   "mail": {
      "enable": false,
      "host": "smtp.163.com",
      "port": 465,
      "from": "***@163.com",
      "auth": {
         "user": "***@163.com",
         "pass": "*****"
      }
   },
   "ldapLogin": {
       "enable": true,
       "server": "ldap://127.0.0.1",
       "baseDn": "cn=admin,dc=your company name,dc=com",
       "bindPassword": "mect888!",
       "searchDn": "ou=people,dc=your company name,dc=com",
       "searchStandard": "mail",
       "emailPostfix": "",
       "emailKey": "mail",
       "usernameKey": "displayName"
   }
}
若禁止用户注册,则在配置文件中添加参数:
{
"port": 27017,
"closeRegister":true
}
2.重启yapi
systemctl restart yapi
关于yapi的systemd启动文件内容,可以参考: systemd下服务启动情况
3.登陆
3.1初次使用 LDAP 登陆的新用户
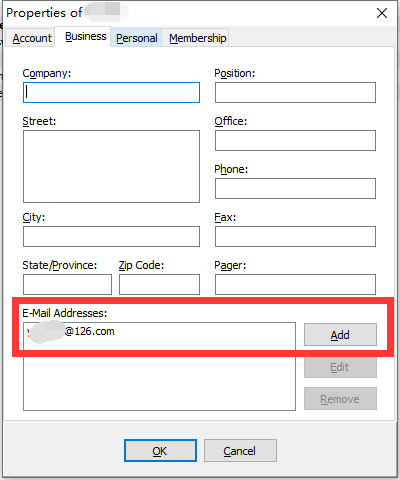
3.1.1在新建的test账户中,添加邮箱

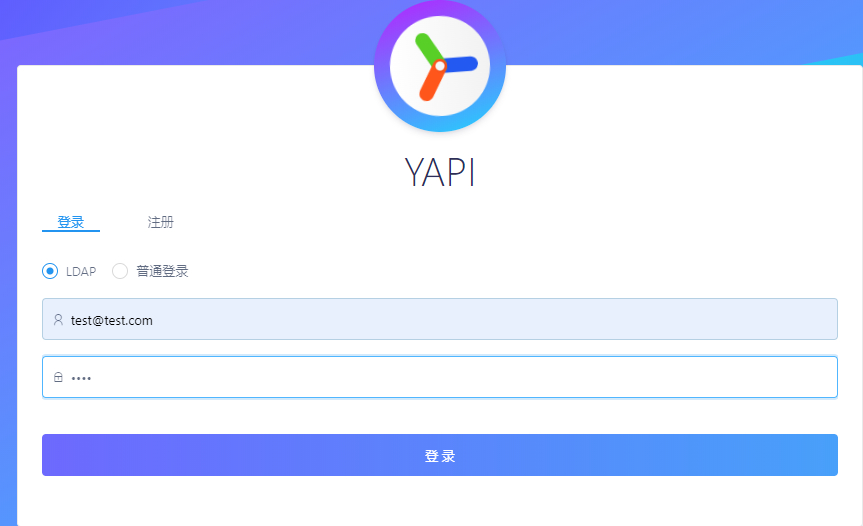
3.1.2 使用之前添加的邮箱和密码登陆
3.2绑定老用户
3.2.1 绑定用户邮箱
yapi管理员登陆后台之后,在用户管理中查看用户的邮箱:


将邮箱添加到对应LDAP用户中即可用邮箱和LDAP的用户密码登陆YAPI了
参考资料:
“The first 90% of the code accounts for the first 90% of the development time. The remaining 10% of the code accounts for the other 90% of the development time.” – Tom Cargill
标 题:YAPI开启LDAP登陆作 者:Leif160519
出 处:https://github.icu/articles/2020/02/19/1582114251526.html
关于博主:坐标六朝古都南京,服务器运维工程师+桌面运维工程师,如有问题探讨可以直接下方留言。
声援博主:如果您觉得文章对您有帮助,可以评论、订阅、收藏。您的鼓励是博主的最大动力!